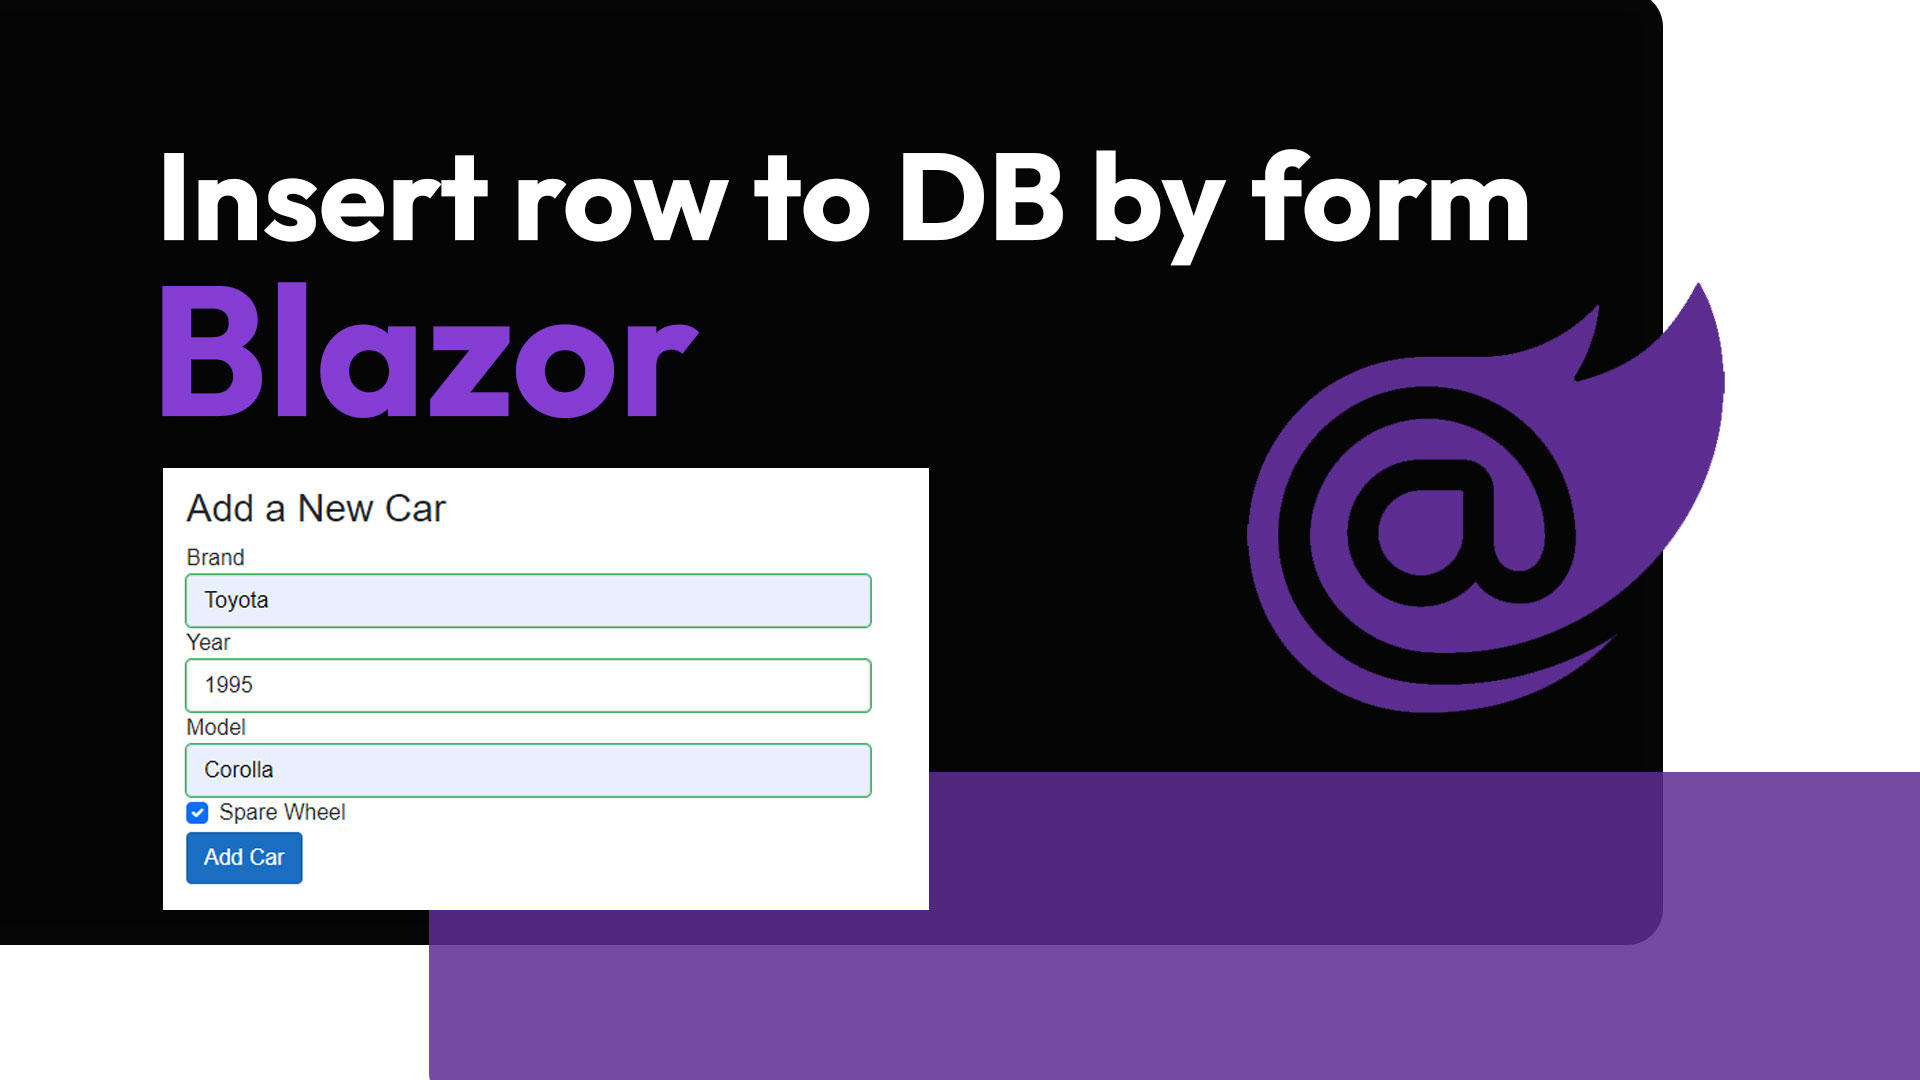
Insert row in database by a form using Blazor
Learn to create a simple form that can insert a row of data to your database. In this article we use Blazor and to help us even more we also use entity framework. In this article we will be using .NET 6 as framework for the Blazor Server App.
First we need to create a database that we can connect to. In this case we just use Microsoft SQL Server Management Studio. Go and create your database and give it a name. In this case I call the database for "Cars".
Create a new Blazor Server App that is running .NET 6.
When the project is created, go and download the matching NuGet packages for your .NET 6 project. You want to go and download the newest 6.x.x version of the packages Microsoft.EntityFrameworkCore, Microsoft.EntityFrameworkCore.SqlServer and Microsoft.EntityFrameworkCore.Tools.
When the packages is installed, you are ready to use Entity Framework in your Blazor Server App.
First we can go and setup the connection string to your sql server. In this case my appsettings.json file looks like this:
appsettings.json
The important thing here is to create the ConnectionStrings key with an object inside where we can put multiple connections strings in. I put the DatabaseConnectionString key in and give it the value of my connection string. Remember to find your own "Server", this one is pretty much just the name my PC is called.
Next we need to go and make the DbContext file to configure our connection to the database. It is basically just to tell our app what the connectionstring is and what tables it should expect or be able to create.
All the code about IConfiguration is pretty much just to tell that we want to fetch the connectionstring from the appsettings.json file.So I create a file called AppDbContext.cs inside the Data folder to hold the project structured.
AppDbContext.cs
PostTestApp is just the name of my application when i created it, so just make sure to make it to your project name instead.
Next inside your project you want to go and create the Car model. So create a folder in your project, just the root (not wwwroot folder) of your project called "Model". Inside this folder create a file called Car.cs.
This will be the template object for your table about cars. So all properties in here should match what you want in your database.
Car.cs
Next up inside the Program.cs file, you can go and add AppDbContext as a singleton. Just like this:
Program.cs
Now you can go and add the table to your database. Make the following commands inside your Package Manager Console:
When you add the migration you will get a file that shows that you are about to insert the table to the database. And then the update database will go and execute the changes.
So now when you have the connection setup and the object created for a Car, we can go and add the form to our website. In this case I just put the form into the Index.razor page.
Index.razor
In this case you dont really get a resonse from if the row is actually inserted, however if you try to submit the form when inserting a car, you can see in the database that you now have a car.
If the article was helpful, you can always buy me a coffee in the link below.


